
How to Use a Divot Tool the Right Way (and Why It Makes a Great Branded Gift)
To use a divot tool, insert the prongs into the turf just outside the edge of the ball mark, then push the edge toward the center. Repeat around the mark without lifting the middle, which tears roots. Finish by tapping the area flat with your putter. That is how to use a divot tool so the green heals quickly.
Key Takeaways
- Insert the tool at the edge of the ball mark, not in the center, and push the turf inward.
- Never pry the center upward; that tears the roots and leaves a brown scar that takes longer to recover.
- Work around the mark in small moves, then smooth it with the sole of your putter.
- A divot tool with a removable magnetic marker is used on almost every green, so it keeps a logo in a golfer’s hand all round.
- Custom divot tools start at 100 pieces with enamel or engraved logo markers and gift box options.
What a Divot Tool Actually Repairs
The name causes some confusion. A “divot tool” does not fix the strip of turf a golfer takes out of the fairway with an iron; that divot is replaced or filled with sand and seed. The tool is really a ball mark repairer, designed for the small depression a ball leaves when it lands on a soft putting green.
Ball marks look minor, but an unrepaired mark leaves damaged grass and a dip that can knock putts offline for the rest of the day. Repaired properly and promptly, the surface recovers much faster. That is why most courses encourage every golfer to fix their own mark plus one more, and why a well-designed repair tool is such a practical gift.
The USGA ball mark repair infographic shows the technique visually and is a good reference to share with event guests or print on an insert card.
How to Use a Divot Tool: Step by Step
The correct method takes only a few seconds once you have done it a few times.
- Find the mark. Look for a small crater, often with a raised lip on one side, where your ball first landed. It may be several feet from where the ball came to rest.
- Insert the prongs at the edge. Push the tool into the turf at the outer edge of the mark, angled slightly toward the center. Do not stab into the middle of the depression.
- Push the edge inward. Gently lever the top of the tool toward the center of the mark, so the surrounding turf is pushed in to close the hole. Think of stretching the grass over the gap, not lifting the soil from below.
- Work around the mark. Move the tool a short distance around the edge and repeat. Several small pushes from different sides work better than one big move.
- Avoid lifting the center. Prying the bottom of the mark up feels like it should help, but it tears roots and exposes soil, which leaves a brown spot.
- Tap it flat. Lightly press the repaired area with the sole of your putter so the surface is level and smooth for the next group.
Done well, the repair should leave the grass surface closed, level and still green, with no exposed soil.
Common Mistakes to Avoid
Most poor repairs come from a few habits that are easy to correct.
- Lifting from the center: The most common error. It breaks the roots that hold the turf together.
- Using a tee: A tee works in a pinch but its single point makes clean, even pushes harder. A two-prong tool spreads the force.
- Twisting the tool: Twisting can tear the turf. Push and lever instead.
- Skipping the putter tap: Without it, the surface stays bumpy and the repair is less effective.
- Leaving it for later: A fresh mark is easier to repair than one that has dried out for hours.
If you are running an event, a short demonstration on the practice green before the shotgun start is a simple way to make sure guests use their new tools correctly. Course superintendents and golf professionals are usually happy to show the technique, and it gives your gift a clear purpose from the first hole.
Choosing a Divot Tool: Styles and Materials
For branded orders, the tool style affects both how well it works and how much space your logo gets. The table compares the common formats.
| Style | How it works | Logo area | Best for |
|---|---|---|---|
| Fixed two-prong metal tool | Rigid prongs, compact body | Body face, engraved or enamel | Everyday carry, retail |
| Two-prong tool with magnetic marker | Removable marker held by a magnet | Marker face, plus body plating | Corporate gifts, player packs, pro shops |
| Switchblade / folding tool | Prongs fold into the handle | Handle sides | Pocket-friendly premium gifts |
| Plastic tool | Lightweight molded prongs | Printed body | High-volume, low-cost giveaways |
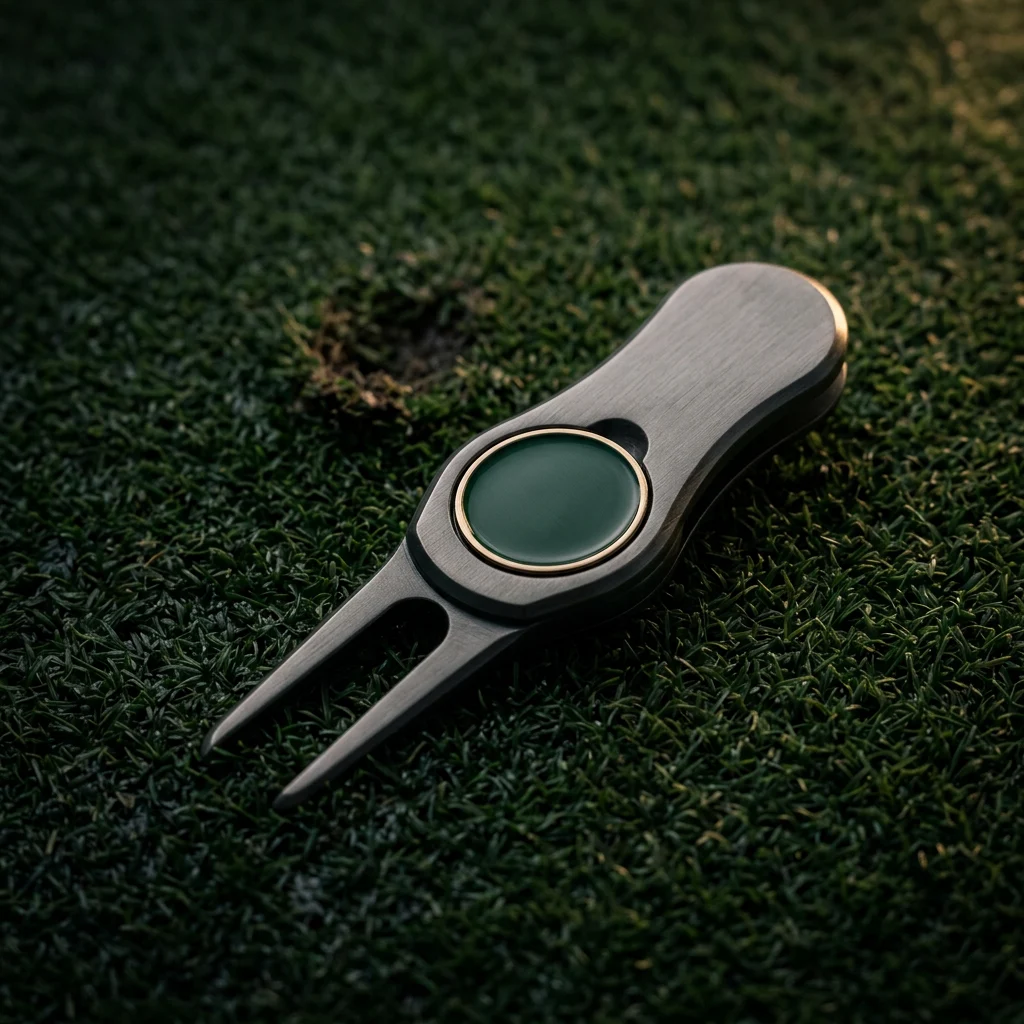
Our custom divot tool with ball marker is a zinc alloy two-prong tool measuring 70 x 28 mm, with a magnetic removable marker that carries your logo in enamel or laser engraving. The body comes in several plating finishes, and standard shapes need no mold fee. A new custom outline is possible with a new mold.
Put Your Logo on Every Green
Send your artwork and choose enamel or engraving, plating and packaging. We return a free digital mockup in 1–2 business days, MOQ 100 pieces.
Why a Divot Tool Makes a Great Branded Gift
Many logo items get used once and forgotten. A divot tool is different, because it earns a place in a golfer’s pocket by solving a real, repeated job.
Used on almost every hole
Golfers reach for the tool whenever they repair a mark, and the removable marker comes out every time they mark a ball on the green. That is repeated, hands-on contact with your logo throughout the round, in front of playing partners.
Long service life
A solid metal tool does not wear out the way a towel or a sleeve of balls gets used up. A well-made tool can stay in the same pocket for years.
Good for course care and goodwill
Giving a repair tool sends a message that your company or club cares about the course. Pair it with a small card showing the correct technique to make the point clearly.
Easy to package and ship
Divot tools are small, dense and durable, so they travel well in gift bags and mailers. Velvet pouches, kraft boxes and rigid logo gift boxes are all options.
Works across buyer types
Pro shops sell them as counter impulse items, golf courses brand them as everyday merchandise, and corporate buyers include them in client gift sets alongside towels and logo balls. One design can serve all three channels with different packaging, which keeps reorders simple.
For more pocket-sized gift ideas, see our roundup of golf outing giveaway ideas, and compare marker formats in our guide to the best golf ball markers.
Branding Options and Ordering
A few decisions shape how your divot tool looks and what it costs.
- Marker finish: Soft enamel is colorful and economical; hard enamel is smooth and premium. Our comparison of soft enamel vs hard enamel explains the tradeoffs. Laser engraving gives a clean, single-tone mark.
- Plating: Gold, silver, black nickel and other finishes. Matching the plating to your brand color creates a coordinated look.
- Color matching: Provide Pantone references for enamel colors.
- Packaging: Bulk polybags for gift bags, retail cards for pro shops, gift boxes for client gifts.
Samples typically take 5–10 working days, and production generally runs 15–20 days after artwork approval. Our samples page explains how approval works, and MOQ and shipping covers delivery to the US and Canada.
FAQ
How do you use a divot tool on a green?
Insert the prongs just outside the edge of the ball mark, push the edge toward the center, and repeat around the mark. Do not lift the center. Finish by tapping the area flat with your putter.
Why should you not lift the center of a ball mark?
Lifting the center tears the grass roots and exposes soil, which leaves a brown scar that takes longer to recover. Pushing the edges inward keeps the roots intact.
Is a divot tool the same as a ball mark repairer?
Yes. Golfers commonly call a ball mark repairer a divot tool, even though it repairs pitch marks on the green rather than fairway divots.
What is the MOQ for custom divot tools?
Our custom divot tool with a magnetic ball marker starts at 100 pieces, with enamel or engraved logos, several plating finishes and gift box options.
Conclusion
Knowing how to use a divot tool comes down to one idea: push the edges in, never lift the center, then tap it flat. Because golfers use the tool and its marker on nearly every green, it is also one of the most practical branded gifts you can give. Start with a free mockup on our divot tool product page.


