
How to Use Alignment Sticks: 7 Drills and Branding Ideas for Academies
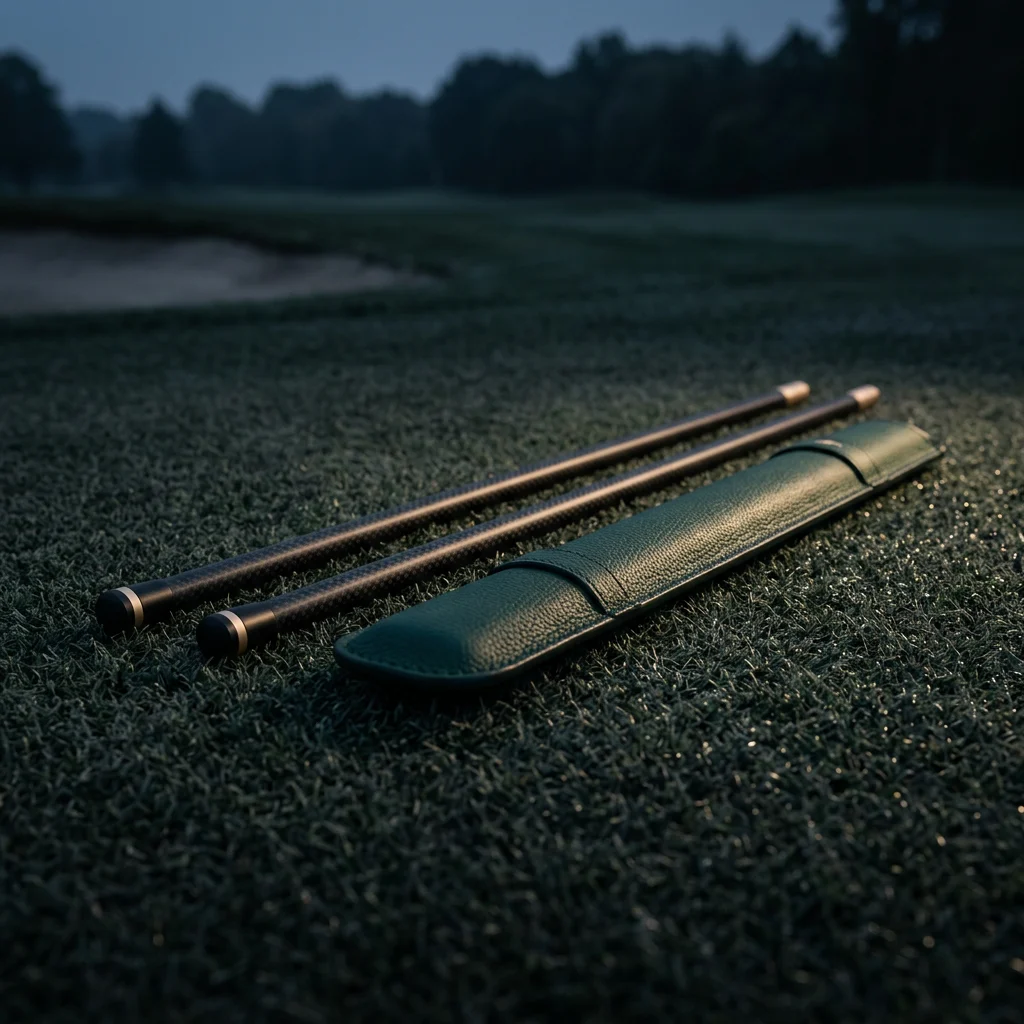
Here is how to use alignment sticks: lay one on the ground along your target line and a second parallel to it along your toe line, then build drills from it: ball position, swing path gates, putting gates and plane checks. For academies, branded sticks turn a cheap practice aid into a lesson tool students keep and use.
Key Takeaways
- The basic setup is two parallel sticks: one on the target line, one on the toe line. Almost every drill starts there.
- Seven drills cover aim, ball position, swing path, plane, putting stroke, short game landing spots and hip rotation.
- Sticks are practice tools; keep them for the range, the short game area and lessons, not for lining up during a round.
- Bright colors, a logo on the stick and a branded cover make sticks visible on the range and useful for academy retention.
- Our custom alignment sticks with cover start at 100 sets.
What Alignment Sticks Are and Why Coaches Use Them
Alignment sticks are thin, flexible rods, usually fiberglass, sold in pairs. They are light enough to carry in a bag, stiff enough to lie straight on the ground and flexible enough to push into turf at an angle without snapping. Bright colors make them easy to see from behind the golfer, which is exactly where a coach stands.
Coaches use them because most swing faults start before the club moves. A player who aims right compensates with an over-the-top move, then blames the swing. Sticks show aim and body alignment instantly, give a physical reference for path and plane, and let a student practice alone between lessons with the same feedback they got from the coach. Teaching professionals, such as those you can find through the PGA of America, often build whole lessons around a pair of sticks.
How to Set Up Alignment Sticks: The Basic Layout
Before any drill, set up the foundation layout. It takes very little time once students have done it a few times.
- Pick a target. Choose a specific flag or post, not a general area of the range.
- Lay the target-line stick. Stand behind the ball, look at the target and place one stick just outside the ball, pointing at the target.
- Lay the toe-line stick. Place the second stick parallel to the first, where your toes will be. The two sticks should look like railroad tracks, not a V.
- Check from behind. Step back and confirm both sticks run parallel and the target-line stick points at the target. The toe line should point slightly left of the target for a right-handed player because it is offset from the ball.
- Set up to the ball. Align toes, knees, hips and shoulders parallel to the toe-line stick.
7 Alignment Stick Drills for Lessons and Practice
These drills cover the full bag, from driver to putter. Each one uses one or two sticks and works for individual practice or group clinics.
1. Aim and body alignment check
Use the basic layout and hit shots while checking that feet, hips and shoulders stay parallel to the toe line. Lay a club across the shoulders at address to see whether they point at the target line or across it. This is the first drill for any new student.
2. Ball position drill
Place a third stick perpendicular to the toe line, pointing at the ball. Move it to show where the ball should sit for wedges, irons and driver. Students see their ball position drift instantly, which explains many thin and fat strikes.
3. Swing path gate
Push two sticks into the ground at an angle, one outside the ball and slightly behind it, the other inside and slightly ahead of it, forming a gate the club must pass through. A player who comes over the top hits the outside stick. Start the gate wide and narrow it as the path improves.
4. Swing plane reference
Push a stick into the ground behind the ball along the target line at the angle of the club shaft at address. The student swings back under the stick and returns along the same plane. Use foam or a towel near the stick if students are swinging at speed.
5. Putting gate and path drill
Lay two sticks on the green on either side of the putter head, just wider than the head, to form a track. The student strokes without touching either stick. This shows whether the stroke opens and closes on a natural arc or wanders off line.
6. Short game landing zone
Lay a stick across the green or fringe as a landing line for chips and pitches. Players try to land the ball just past the stick and let it release. Move the stick to train different trajectories and clubs.
7. Hip turn and posture drill
Hold a stick across the hips or slide it through the belt loops. Turning back and through shows whether the hips rotate or slide toward the target. A second stick held across the chest does the same for shoulder turn and tilt.
Which Drill Fixes Which Fault
Use this quick reference in lesson notes or print it on a card that goes into the stick cover.
| Common fault | Drill to use | Sticks needed | What the student feels |
|---|---|---|---|
| Aiming right or left | Aim and body alignment check | 2 | Body square to a visible line |
| Thin or fat contact | Ball position drill | 3 | Consistent low point relative to the ball |
| Slice from out-to-in path | Swing path gate | 2 | Club approaching from inside |
| Steep or flat backswing | Swing plane reference | 1 | Club staying on a consistent plane |
| Putts starting off line | Putting gate and path drill | 2 | Square face through impact |
| Poor chip distance control | Short game landing zone | 1 | Landing on a chosen spot |
| Hip slide or reverse pivot | Hip turn and posture drill | 1 or 2 | Rotation around a stable center |
One note on the rules: alignment sticks are a practice and lesson tool. The Rules of Golf restrict setting down objects to help with alignment during a round, and the R&A Rules of Equipment, Part 6 covers what devices and other equipment may be used. Tell students to keep the sticks in the bag once the round starts.
Branded alignment sticks for your academy
Pick stick colors, logo and cover style. We will send a free digital mockup in 1 to 2 business days, with MOQ from 100 sets.
Branding Ideas for Academies, Coaches and Clubs
A branded pair of sticks is one of the few promotional items golfers use every practice session. That makes them strong for academy retention and repeat visits.
- Welcome kits. Give every new student a set with the academy logo on the stick and cover. Each range session puts your brand in front of other golfers.
- Color by program. Use different stick colors for junior, adult beginner and performance programs. Coaches can spot groups at a glance. Match brand colors using Pantone references.
- Printed drill markers. Add depth marks or a center mark on the stick for ball position and stance width. A QR code on the cover can point to your drill videos.
- Pro shop retail. Sticks are an easy add-on sale after a lesson. Our pro shop merchandise ideas article shows how to place them near the checkout.
- Bundles. Pair sticks with a glove and tees in a practice pack. See our golf glove sizing chart for planning glove sizes and our guide to golf tee sizes for choosing tee lengths.
Ordering Custom Alignment Sticks
Things to specify when you request a quote:
- Stick color and whether the pair should match or contrast.
- Logo method: printing along the stick, a printed band, or a logo only on the cover.
- Cover style: a zip or drawstring tube cover, its material and logo position.
- Packaging for retail or gift use.
- Quantity: MOQ is 100 sets, with samples typically in 5 to 10 working days and mass production in 12 to 30 days depending on decoration.
Start on the custom alignment sticks page, or read how we work for the full process from mockup to delivery.
FAQ
How do you set up alignment sticks?
Lay one stick on the target line just outside the ball, pointing at your target, and a second stick parallel to it along your toe line. Check from behind that they run parallel, then align your feet, hips and shoulders to the toe-line stick.
Can you use alignment sticks during a round of golf?
No. Alignment sticks are practice and lesson tools. The Rules of Golf restrict setting down objects to help with alignment during a round, so keep them in the bag once you start playing.
What are the best alignment stick drills for beginners?
Start with the aim and body alignment check and the ball position drill. Both use the basic two-stick layout and fix the setup problems that cause many beginner faults. Add the swing path gate and putting gate once setup is consistent.
Can alignment sticks be customized with a logo?
Yes. We can print a logo on the stick, add color bands or marks, and brand the cover. Our custom alignment sticks with cover start at 100 sets, with a free digital mockup in 1 to 2 business days.
Conclusion
Learning how to use alignment sticks starts with one simple layout and expands into drills for every part of the game. For academies and coaches, a branded set gives students a tool they use every session and keeps your name on the range. Choose colors that stand out, add useful markings and pair the sticks with your lesson plan.


